Users can access the Transaction window to enter invoices, debit memos, credit memos and commitments. The following steps outline the process to generate an invoice
1. Log in to your Oracle Fusion account
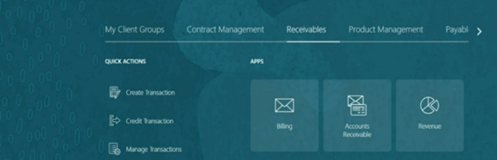
2. Navigate to Receivables
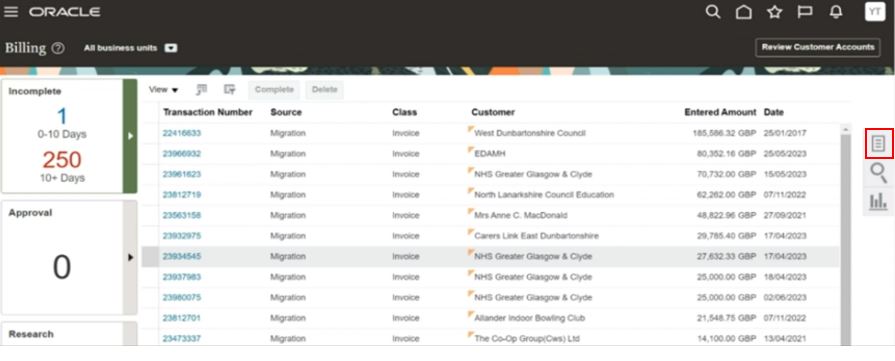
3. Select Billing
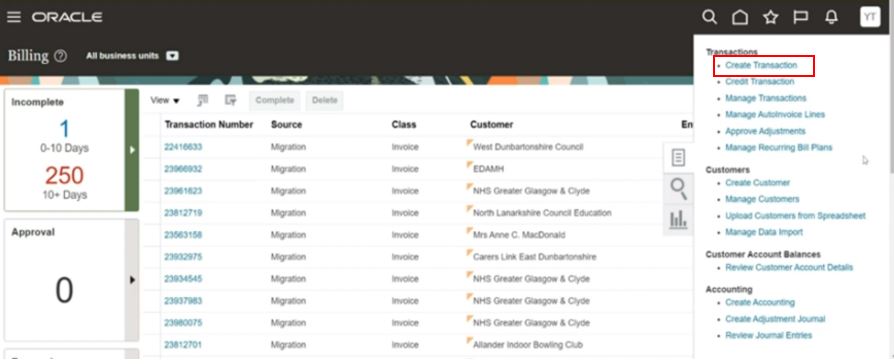
4. Select the Task Pane
5. Click on Create Transaction
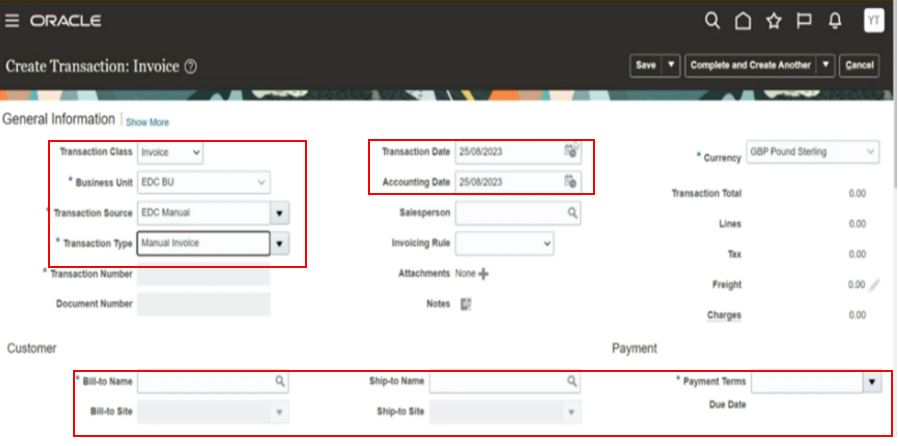
6. Complete fields below General Information
7. Select Invoice at Transaction Class
8. Transaction Number & Document Number will populate later
9. Complete fields below Customer
10. Bill to Site is automatically populated
11. Payment Terms (invoice due date & no of instalments if applicable) default to 30 days
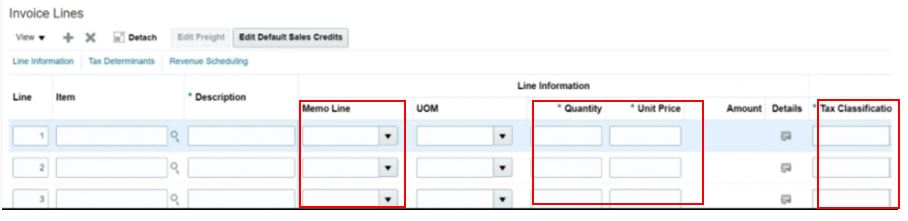
12. Navigate to Invoice Lines
13. Add Memo Lines
14. Edit description if required
15. Add Quantity and Unit Price
16. Enter Tax Classification
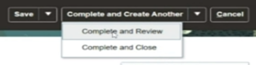
 17. Navigate to the top of the page
18. Select dropdown menu
19. Select Complete and Review
20. At General Information, click on Show More
21. Edit Payment Terms and Receipt Method if required (invoice due date & no of instalments if applicable) and Receipt Method (payment method) if required
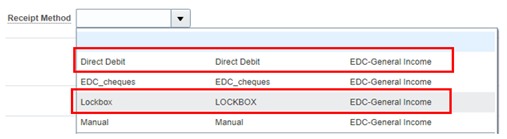
There are only 2 active receipt methods which will be set up against a customer’s account. Lockbox and Direct Debit, this field that will determine whether we take payment by DD. Lockbox is the generic term for Income Management System – ie payment received by cheque, online, telephone, post office, pay point etc.
22. Review Customer and Payment Details
23. Select Save at the top of the page
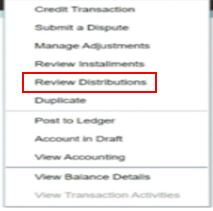
24. Select Actions to view the accounting combination for this transaction

25. Select Review Distributions
26. Click on blue icon to edit revenue distribution
27. Select Save and Close

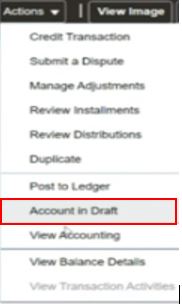
28. Select Actions to view the Account in Draft
29. Select View Accounting to view accounting lines
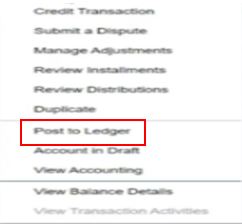
30. Select Actions and Post to Ledger
31. Select View Accounting to check status is final

32. Select Save at the top of the page
